Click HERE to jump to the latest update on this page.
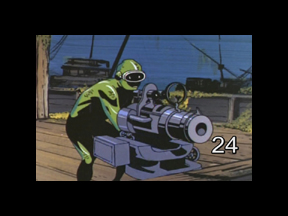
Started work on cut 24, in which a laser is swung around and fired at an off-screen target.
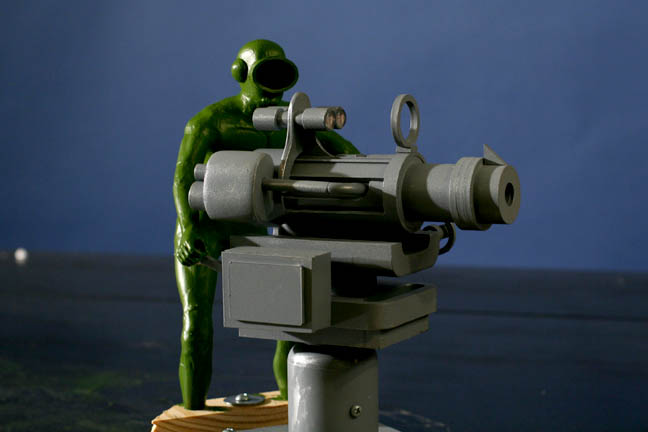
HOW TO BUILD A LASER IN 4 EASY STEPS!
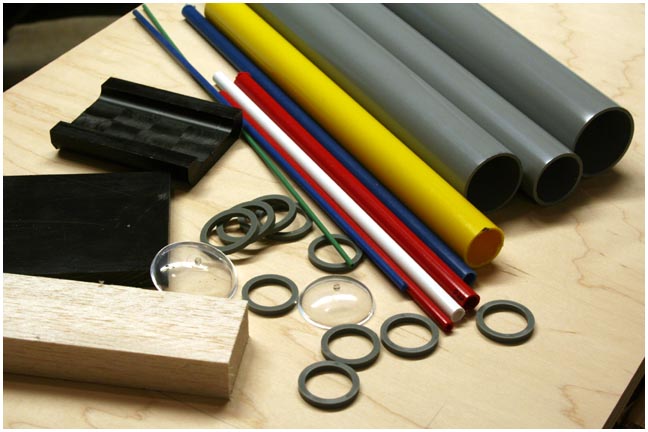
STEP
1: First, gather a selection of tubes, caps and rings.
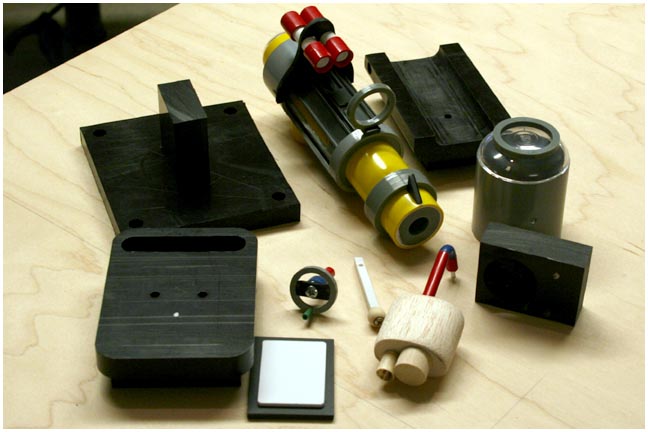
STEP
2: Cut, drill, sand and form them into the appropriate shapes.
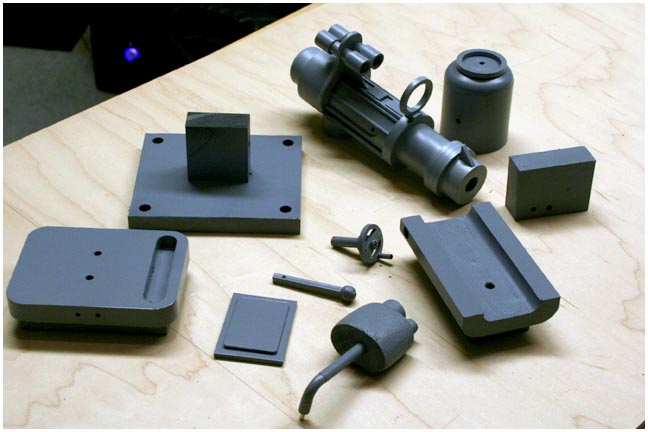
STEP
3: Provide a healthy coat of grey primer.
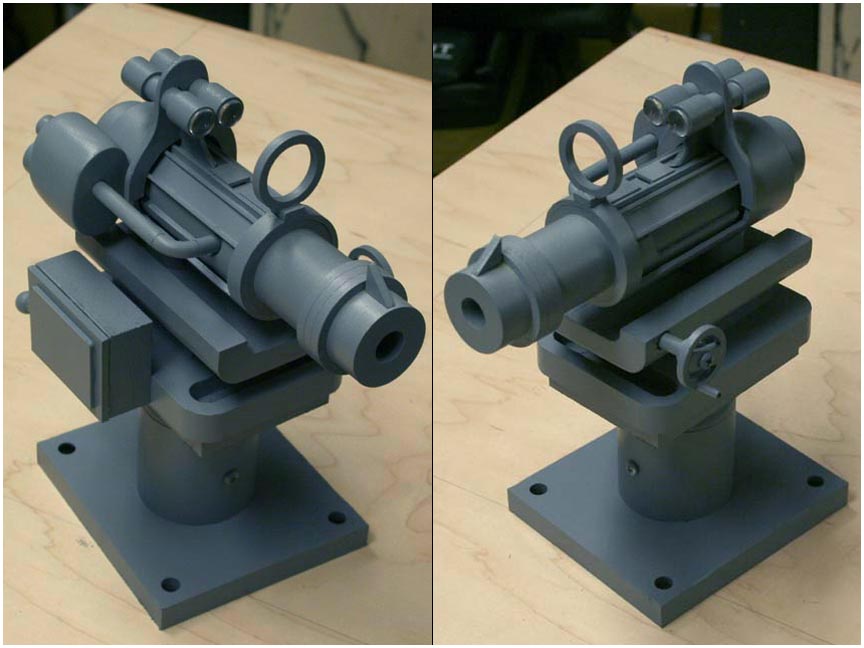
STEP
4: Assemble into something that looks like a 60's laser, repleat
with useless tubes, cranks, levers, vents, fins and viewing mechanisms.
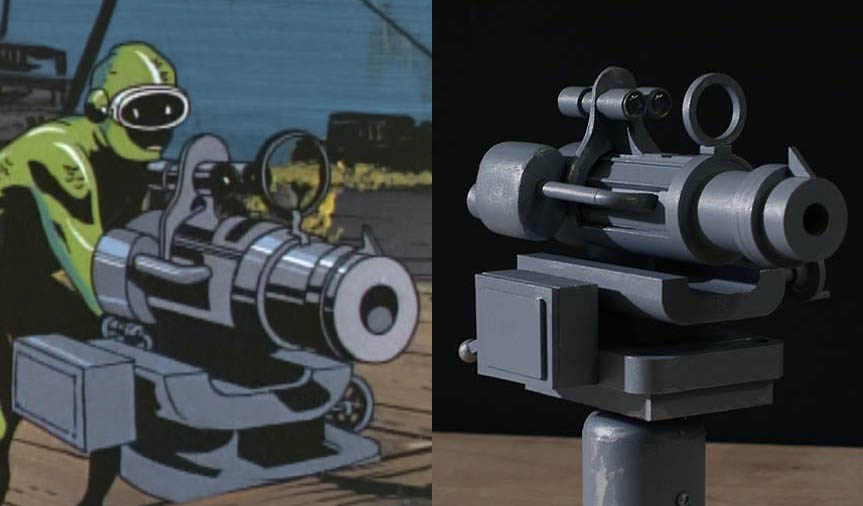
Here's
a side by side. The original drawing had some very Escher-esque dimensions
to it. Things that looked flat from one angle became curved from another
angle. Certain details that were visible when the laser was pointed away
from the camera suddenly evaporated into thin air as the laser was turned
on its pedestal and then new details abruptly appeared from nowhere.
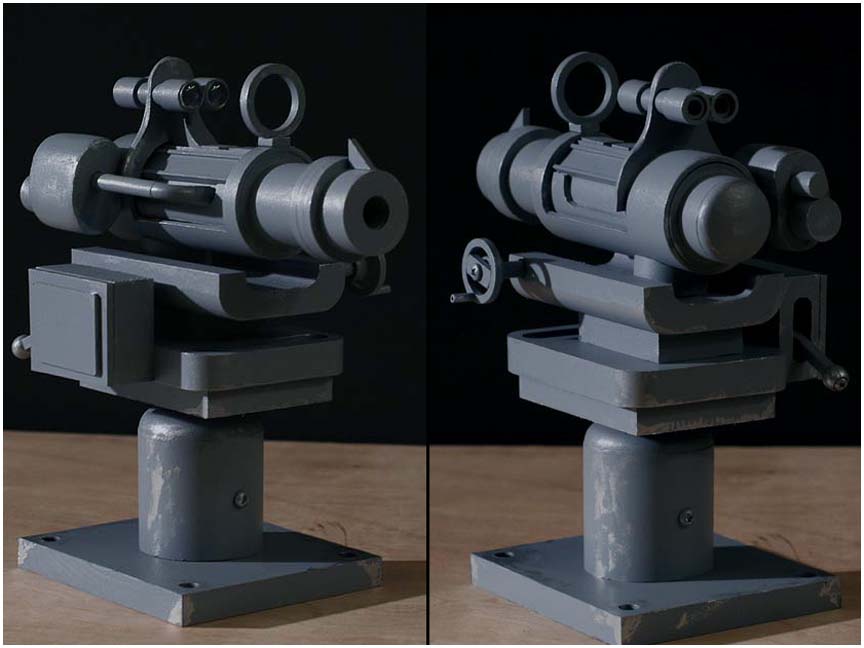
At any
rate, I took the liberty to "dirty" it up a bit, using silver to highlight
some of the edges and provide wear, as if the paint had rubbed off and
the metal was showing through. While not an exact match, I think this is
close enough to get the shot across.
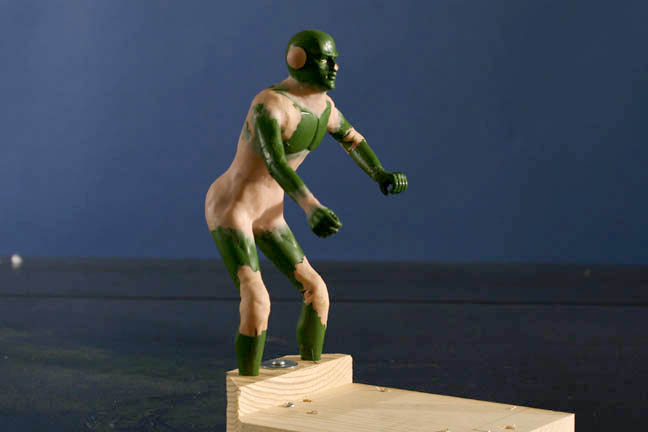
Reused
the frogman from cut 23 but had to change body positions, which meant a
new coat of clay and paint.
In the
cartoon version, the mask is painted white. I dunno why since they are
green everywhere else. So I decided to just leave the face mask green but
did add the two odd "ear bumps" to each side of his head.
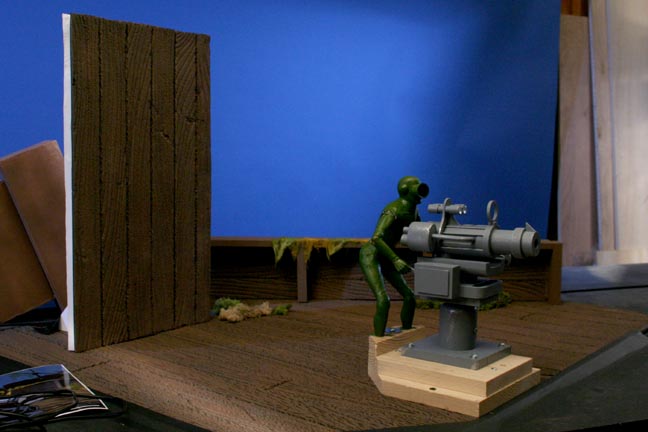
The set
wasn't particularly involved. Three simple pieces: deck, wall and railiing.
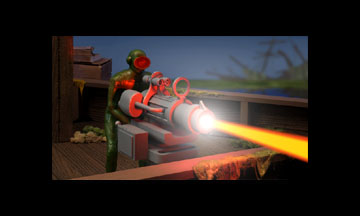
The railing
at the back was repositioned and reused in front of the laser gun in the
final shot. I knew I would be compositing so no need to build two railings.
I also reused the abandoned cargo ship background art from the cut 25 to
maintain continuity between the shots when they're cut together.
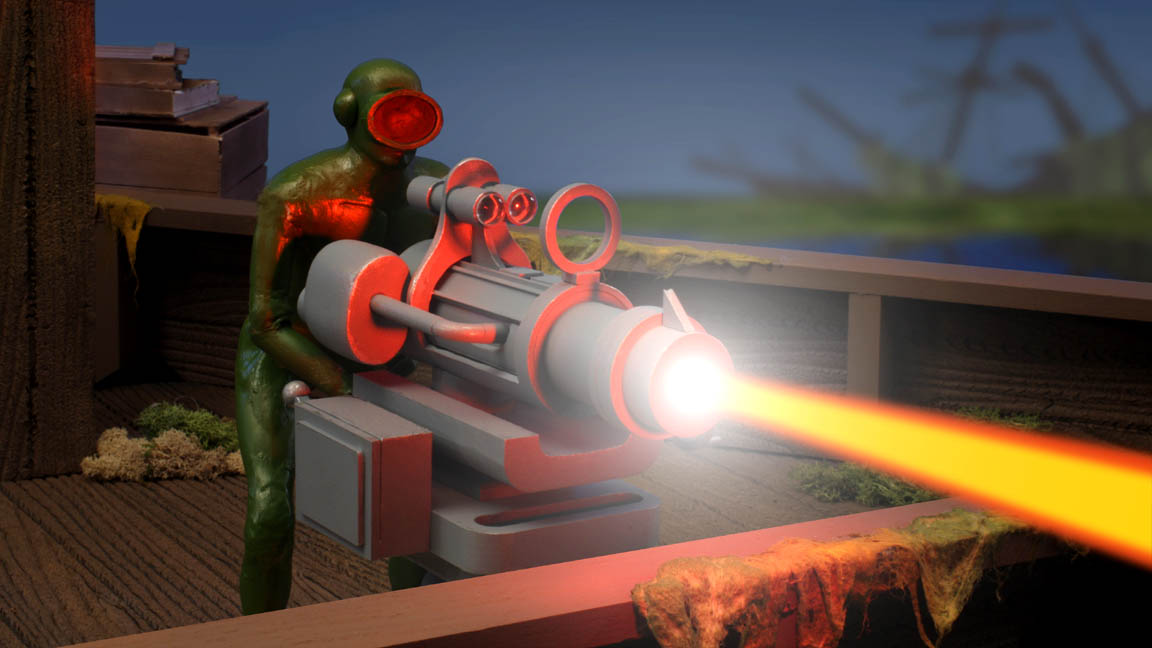
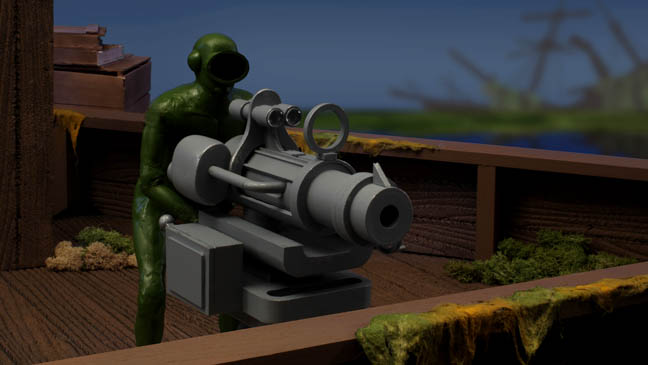
The beam
added ala Photoshop. I actually created two different intensity of beams
and alternated between them at 2 frame intervals to create a nice pulsing
effect. Interactive lighting effects were achieved during the model animation
by using a flashlight with orange gel.
Click
on the picture for a larger view.
The finished clip is at the top of the page!
Thanks for looking!
All information, videos, photos and graphics in
this website are copyright 2009, Roger Evans. All rights reserved.
For those that enjoy the creak of leather, click
HERE
for my gallery of western art paintings