For more information about how this shot was created, see below!
This
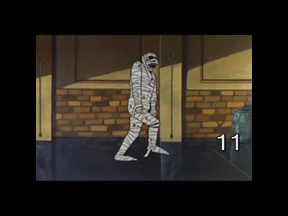
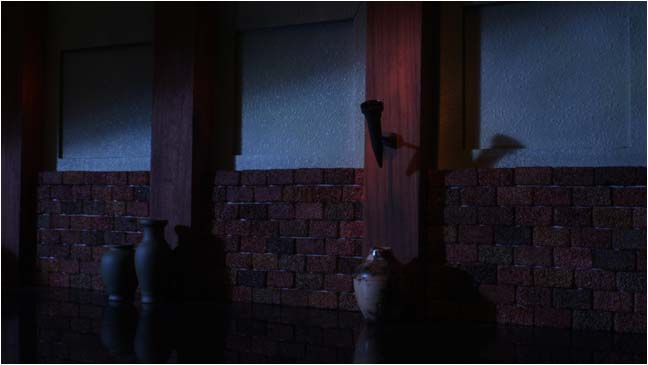
is the scene as it appears in cut #11 of the opening titles.
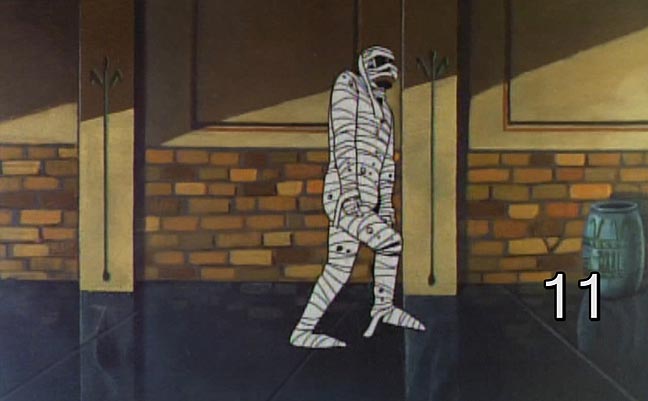
I decide
to make some slight changes to the background. While we went for the same
sort of brickwork, I decided to make the columns wooden beams as it would
tie in better with the surrounding shots when everything was cut together.

Here
Brandi cuts out the insets in the back wall of the set.
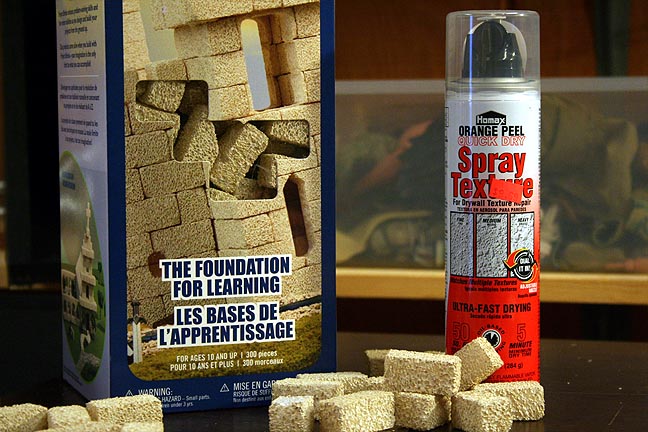
These
syrofoam blocks are super handy for this type of work and Brandi had a
great idea to use some spray texture for the plaster wall.
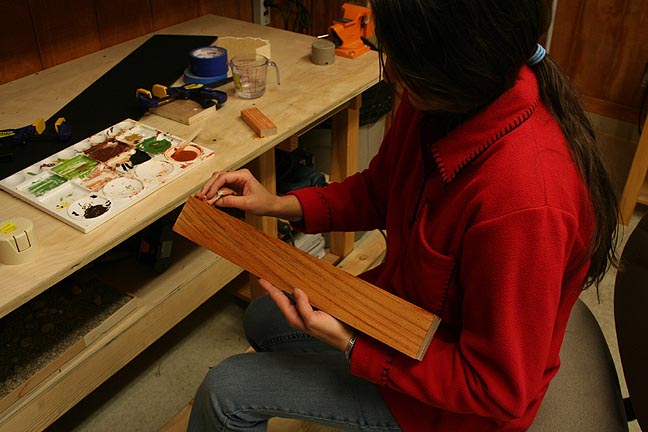
Brandi
adds stain to the vertical columns using a watered down acrylic.
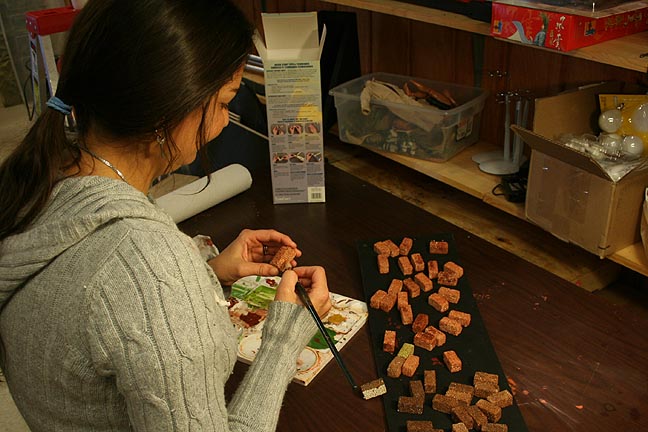
The bricks
are painted a variety of different shades, in keeping with the original
cartoon design.
Only 50 more bricks to go!
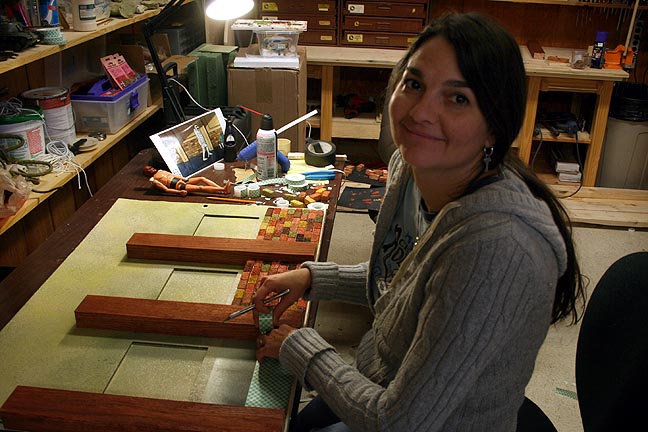
Brandi
is using double back foam tape to adhere the bricks to the back wall of
the set, which has been painted a moldy green.
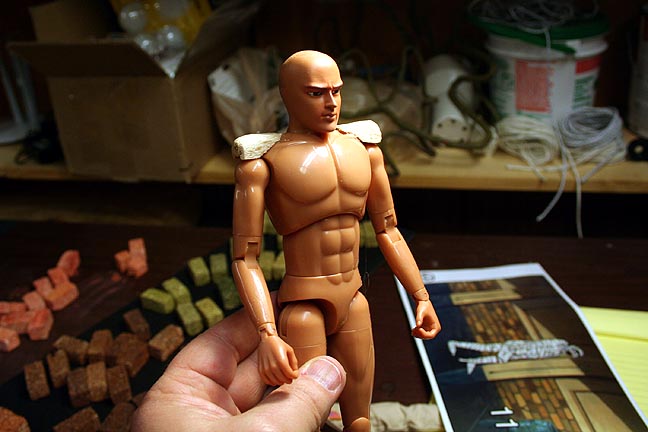
Since
the mummy required nothing special other than articulated limbs, I just
started with a cheap action figure.
In retrospect,
I rather like this figure as it has swivels for the limbs, which are preferred
over ball and socket joints. But the face only a mother could love, I'm
afraid. Fortunately, it will be covered with cloth.

I used
hot melt glue to add to the brow-ridge, cheeks and chin to give a more
skeletal appearance.
Sculpting
with hot melt is kind of tricky but the sloppiness of it worked well for
ancient mummy hide.

After
a quick paint job, the mummy make up is complete!
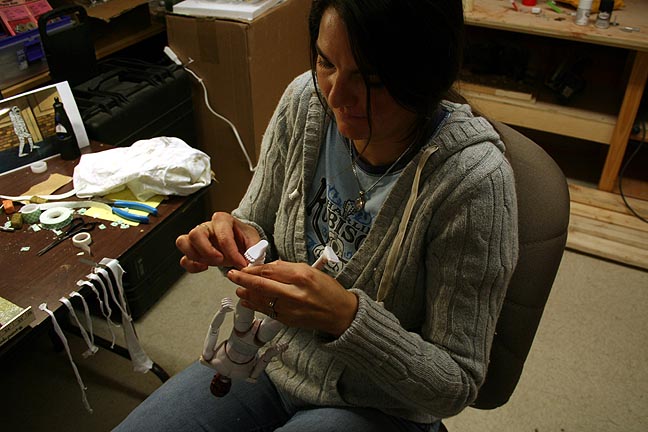
Brandi
begins the tedius task of wrapping the mummy in strips of cloth. I was
going to paint the mummy brown before wrapping but Brandi thought it would
be a better idea to paint it white, in case any of the bandages started
to separate. Good idea.
So here's
the original cartoon version of scene 11.
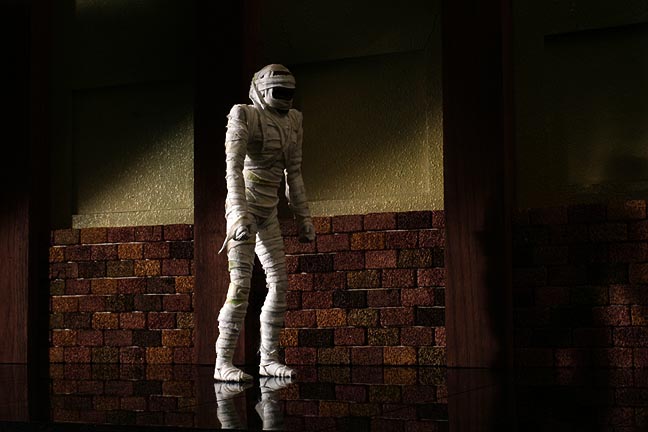
Here's
a quick lighting test. Black, glossy plastic was used for the floor. Still
missing is the large vase to the right.
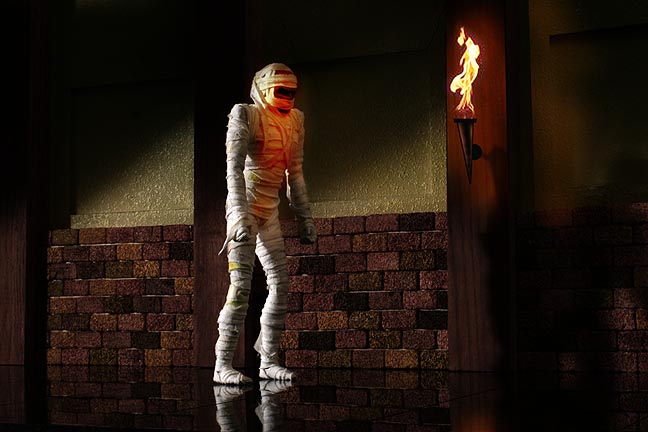
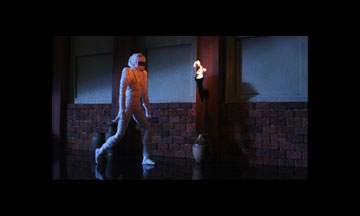
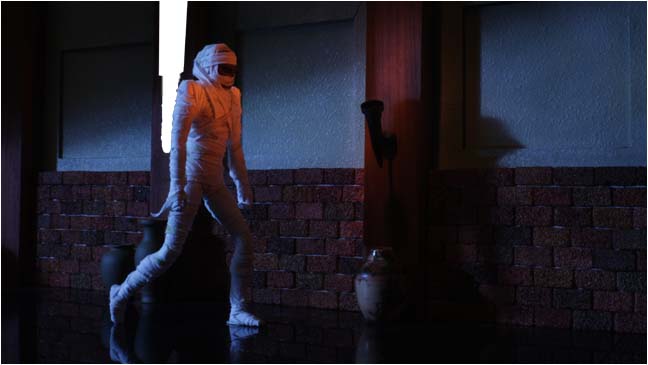
After
shooting the lighting test, I had the idea of adding a torch on one of
the columns. So I used Photoshop to add a fake torch and Googled a picture
of a flame. It's not in the original scene but I think it adds some interesting
interactive lighting. I think I'll do this for the final, so I'll need
to add a torch to the model set and I will have to shoot some live action
flames, as well. The scene is a tracking shot of the mummy so I will have
to match move the flames in post and animate interactive lighting during
animation but I think it will be worth it. On the other hand, the shot
without the torch looks a bit scarier in some ways. Hmmmm......I'll have
to think about it.
How
to make a wall-torch using junk around the house!
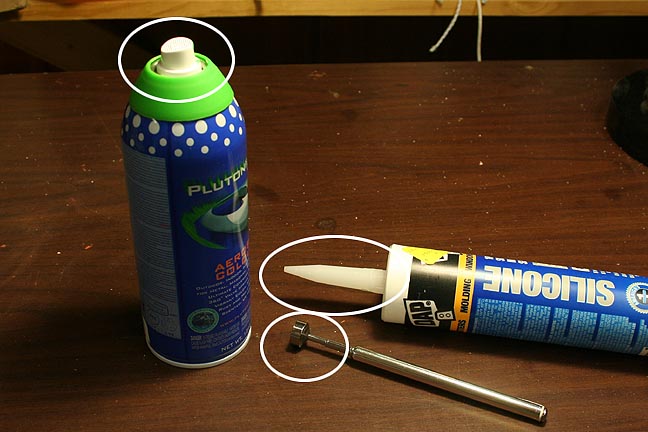
I looked
around and found an empty can of paint, an old magnetic wand and a tube
of caulk.
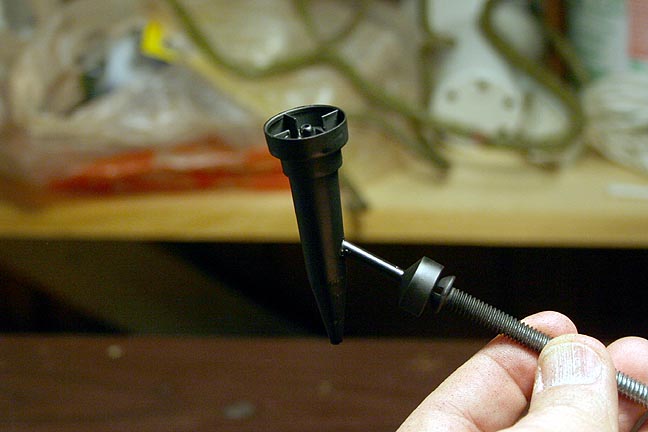
The
circled areas are the targets of interest! ;)
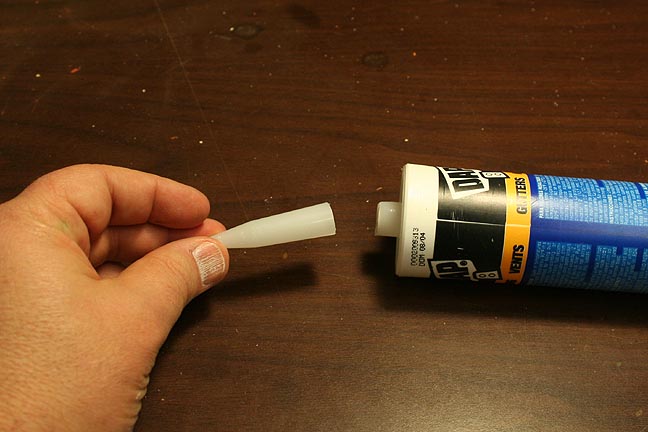
I cut
the tip off the caulk.

Remove
the spray nozzle from the paint can.
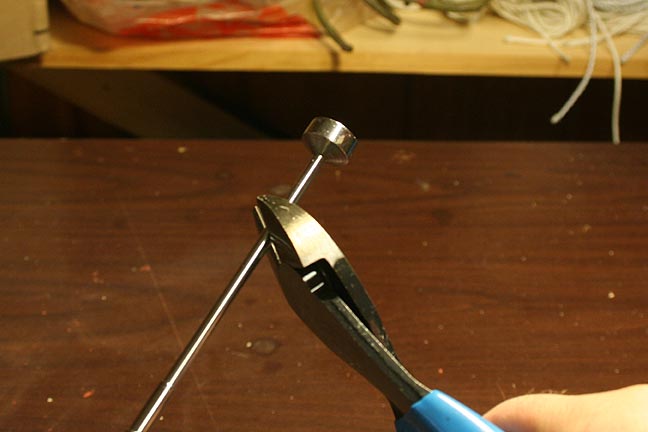
Snip
the end of the magnetic wand.
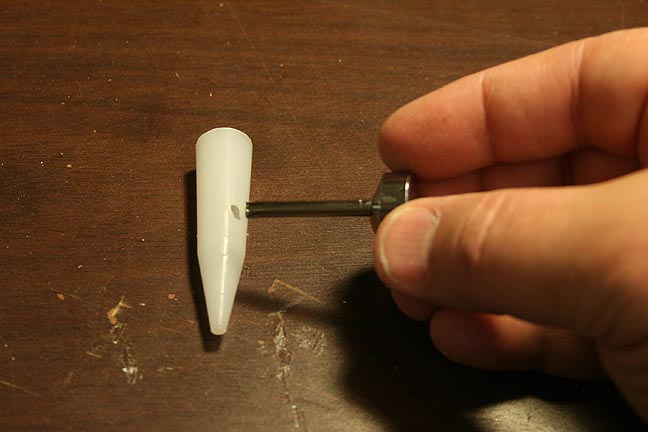
Drill
a small hole at an angle in the tip.
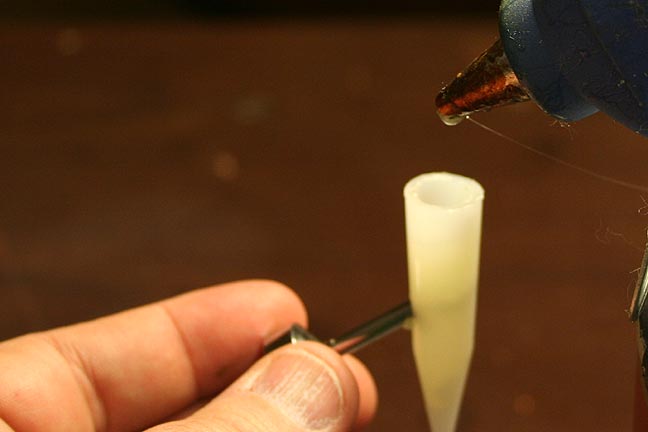
Insert
the metal stem of the wand into the tip and fill with hot melt glue.

After
it cools, I then hot melt glue the paint nozzle upside down.
A quick
coat of flat black spray paint hides a multitude of sins.
(The
magnetic base of the wand allows it to stick to a metal bolt during painting!)
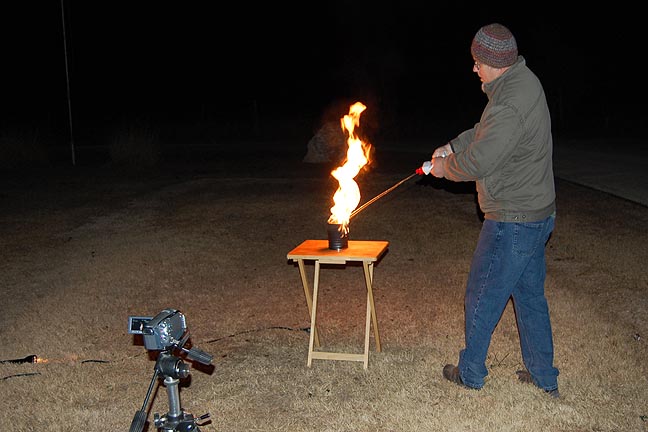
And,
of course, we must have FIRE. More FIRE!
Bwahahahahaha...........
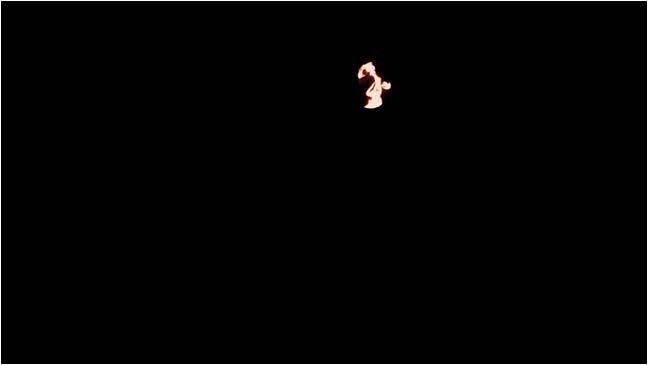
Note
the HD camcorder in the foreground. I painted an emtpy chili can black
and then shot the resulting flames at night in our front yard. I put the
camera on progressive with a high speed shutter to "freeze" the flames
on each frame of video. This will allow me to separate them for compositing
with the miniature set after animation is complete.
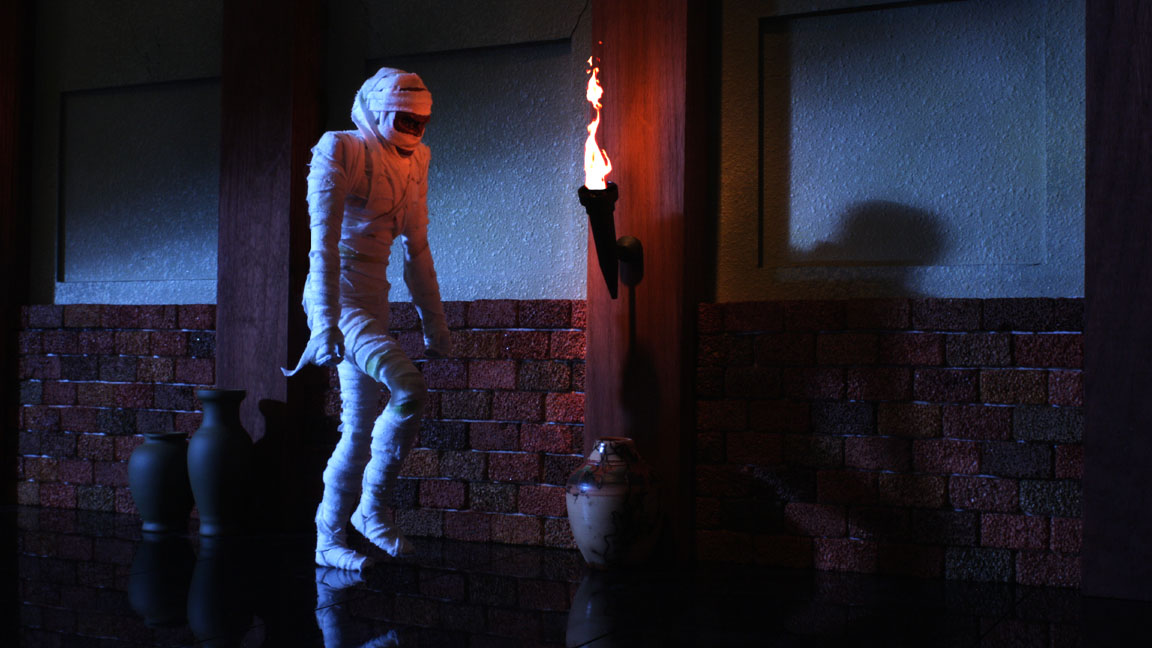
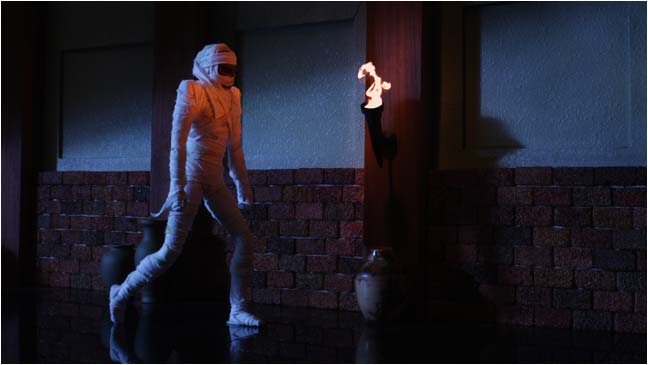
And here's
what the torch and flames look like together!
This
is the final lighting test. I added a blue gel to the rim light to contrast
with the warmer flame. I also simplifed the shadow across the back wall
and lowered the backlight to make the shadows longer and more "mummy-ish"
in nature.
(Click
on the picture to see a larger version.)
Got set up for the animation of the mummy! The cut is only about 44 frames long but the set up is pretty extensive.
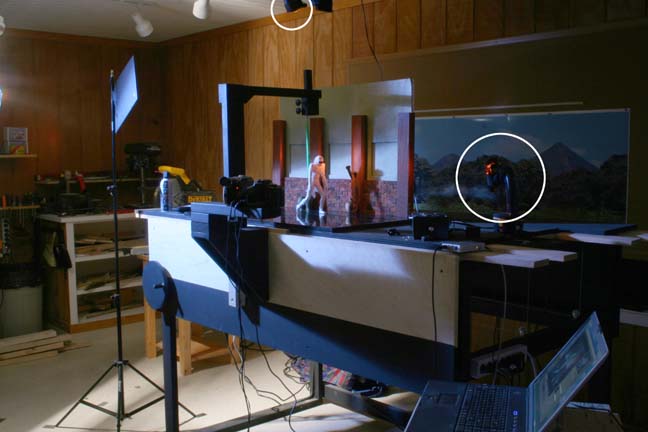
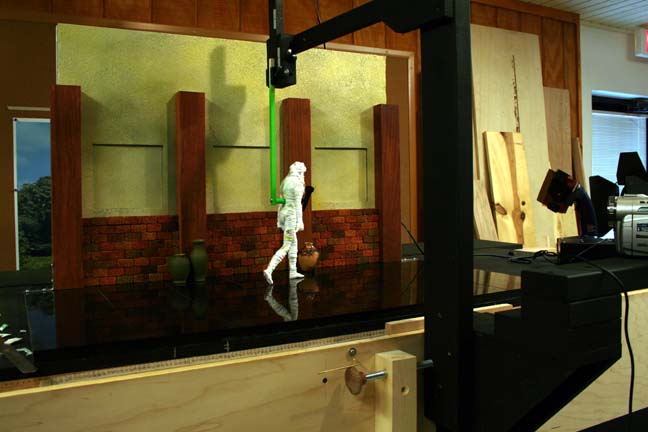
This
is the set up for the shot. Though it is hard to see, the circled items
on the ceiling and on the table are flashlights with orange gel on them.
These lights are moved around randomly from one frame to the next to simulate
the reflection of fire light on the wall and mummy. In the foreground you
can see my laptop with an animation program that I use to keep track of
the moves of the mummy as I animate. On the front edge of the table, you
can see both a digital still camera as well as a regular video camera.
The light levels that I shoot at are too low to use the live-view from
the digital still camera for reference. So I use a small video camera next
to the still camera for a reference video. Both cameras are mounted on
the same mechanism as the mummy support. This way, the cameras move along
with the mummy.
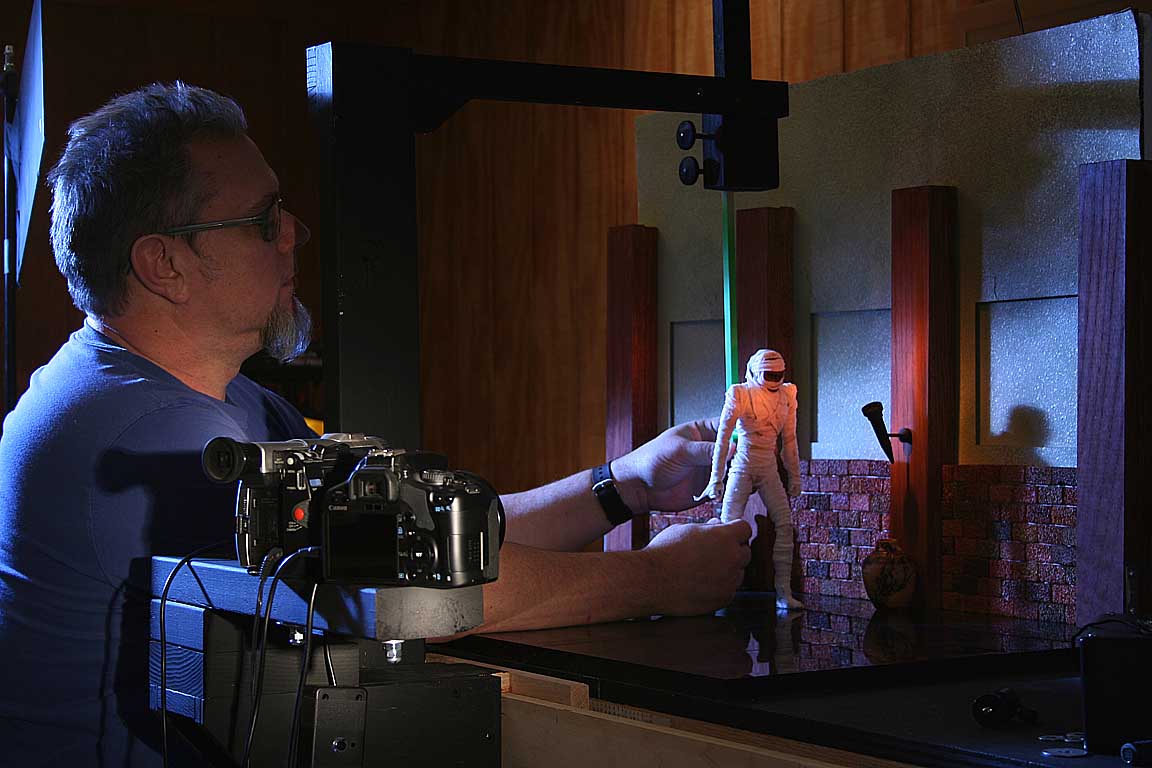
Another
angle on the same set up. Note the overhead support with the neon green
mummy-holder. This entire assembly slides along the front of the table
smoothly, frame by frame. A threaded shaft near the bottom of the photo
allows me to move the mummy forward in tiny increments.
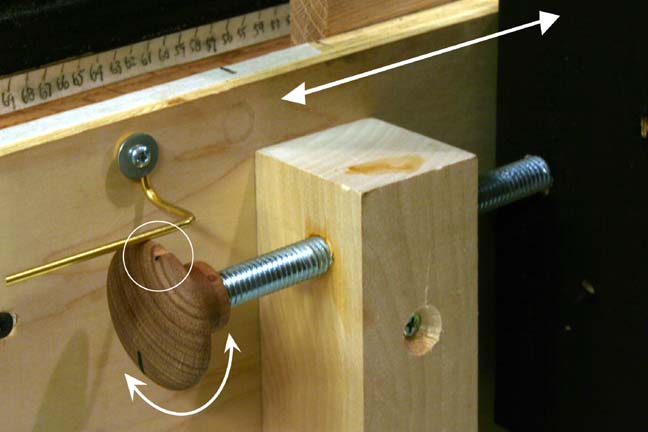
Because
the camera needs to make a repeat pass and must line up in exactly the
same spot for each frame, I put a notch in the knob that a springy metal
rod "clicks" into for each turn (see circled area). This ensures that my
camera ends up in the same exact location on the second pass as the first
for every frame.
Your's
truly putting the mummy through his paces..
(click
on the photo for a larger view)
Here's how the process works:
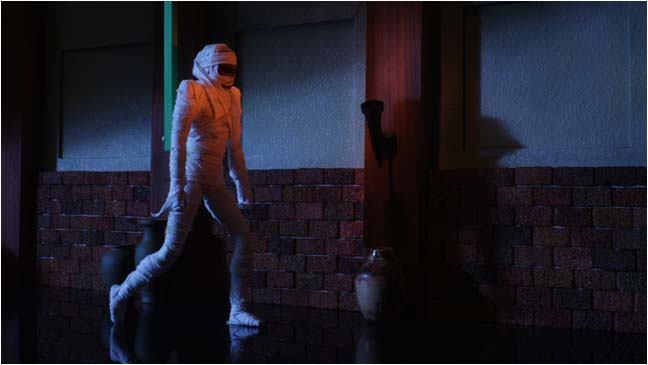
This
is what's recorded on the first pass. No attempt is made to hide the green
mummy support rod.
After
animation of the mummy is complete, the camera/mummy support is moved back
to the beginning. The mummy is removed from the set and a second set of
stills are made of just the background as it moves past the camera, frame
by frame.
In Photoshop,
the green support will automatically "cut" itself out of the frame, though
some extra clean up is always needed. When these two images are ovelapped
in Photoshop, the missing area is "filled in" by the background captured
on the second pass.
And then,
finally, each frame has a flame pasted into the correct position to align
with the constantly moving torch on the wall.
Together,
these three layers make up the final image for each frame!
Thanks for looking!
All information, videos, photos and graphics in
this website are copyright 2009, Roger Evans. All rights reserved.
For those that enjoy the creak of leather, click
HERE
for my gallery of western art paintings