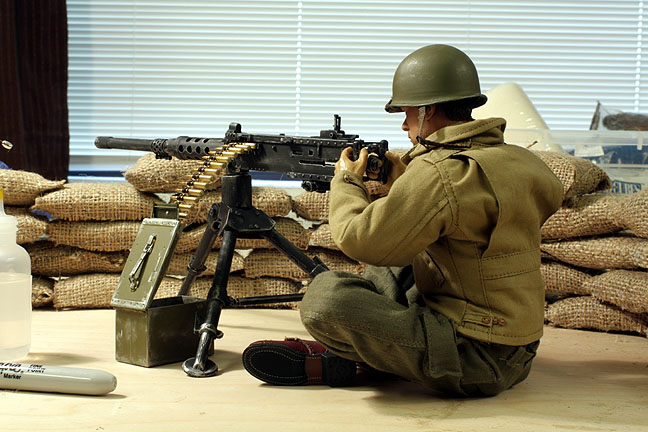
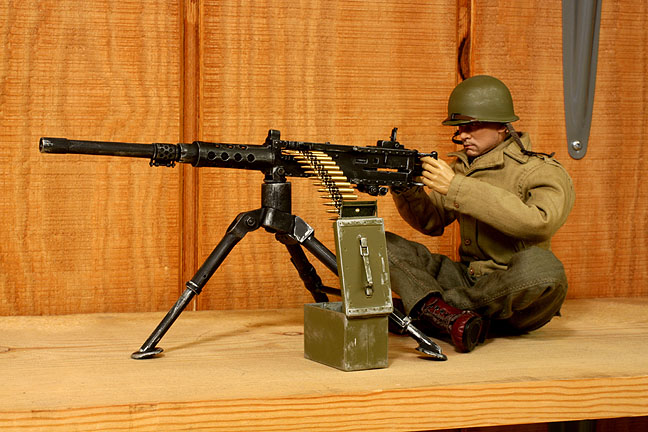
Here's
the finished gun and ammo box. Some of the sandbags are visible in the
background. The clothing is not correct as this appears to be an officers'
jacket, etc. It will be changed for the final shot. Also, the helmet has
been repainted since there were some sort of numbers on the back of it.
All "metal" items like the helmet and machine gun and box were weathered
with drybrushed silver on the edges and other areas of natural wear.
Another
view of the finished gun and ammo box. The bullets are removable and will
be animated moving appropriately through the gun mechanism. Airborne shells
will be animated as a separate layer and composited into the shot.
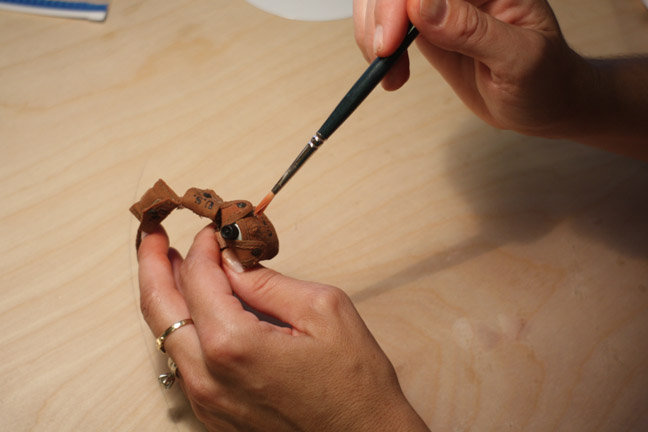
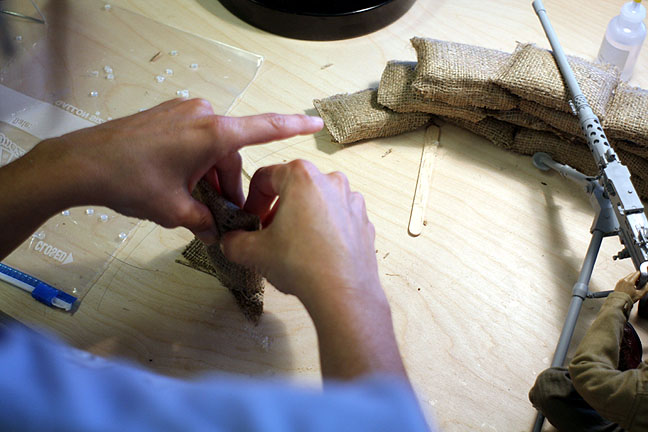
The utility
belts on the original cartoon drawing were a sort of non-descript dark
grey-brown. The utility belts that the soldier uniforms came with were
very, very light tan. They were also made of polyester, which would not
take a dye very well. So Brandi just mixed up some brownish acrylic wash
and painted it on. Worked great and gave us a nice, leather like finish.
I don't think the Army ever had uniforms or utility belts like this but,
hey, this is what's in the cartoon so that's kind of what we have to follow.
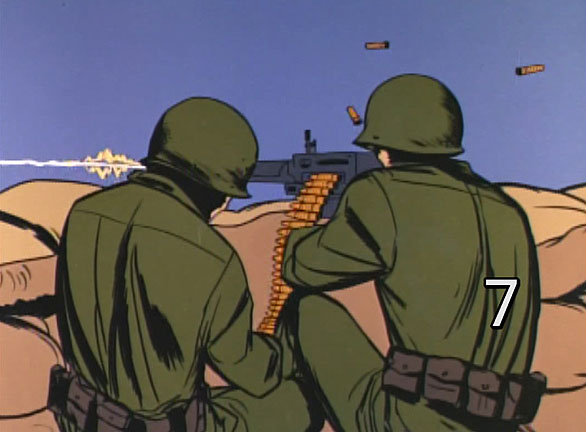
On a
similar note, the uniforms in the cartoon were tucked into the pants and
boots and were all a monotone olive drab color when, in reality, most of
the uniforms had a lighter top and darker bottom. Brandi managed
to find the appropriate uniforms online that matched the cartoon version,
which meant that neither of us would have to sew anything (whew!).

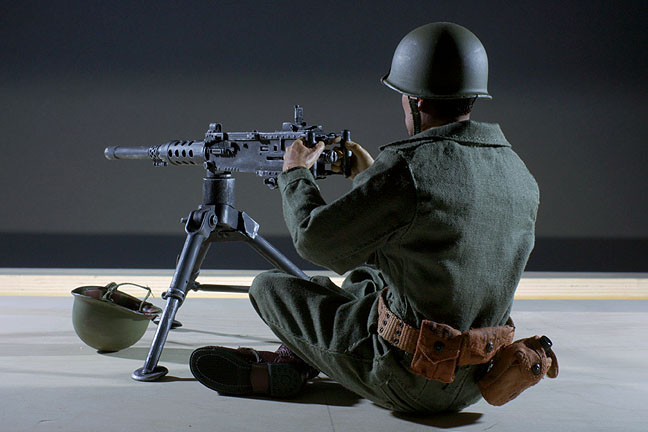
This
is what the best dressed soldier is wearing these days:
(I just
hope they don't trip over their boot laces!)
Nothing
spectacular. Just a quick night time lighting test on the new stage. I
found some nifty compact flourescent (did I spell that right?) lamps with
the smaller base that match my el-cheapo movie lights. They say they
are tungsten balanced at 3200 degrees but are actually a tad on the blue
side IMHO, which works fine for night time shots! For any daylight shots,
I'll need to add some full CT color correction gel but, otherwise, I think
they work just great. No heat, either! :)
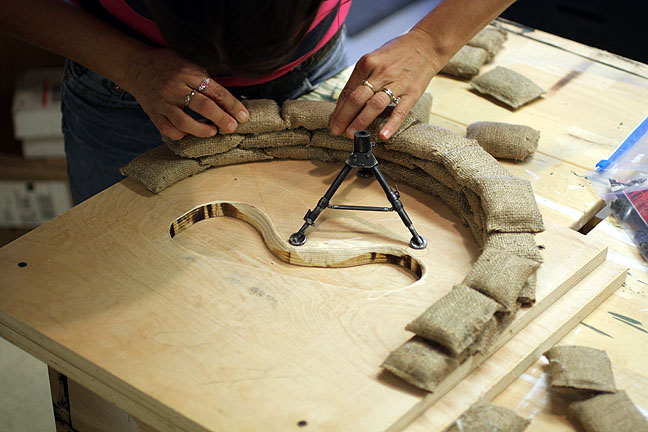
After
the obligatory painting of the stage in flat black, we went to work on
the machine gun nest set. Here you see Brandi hot melt gluing the sandbags
into place. I found that I had to remove the feet of the soldiers to get
them into a position that more closely matched the cartoon version. Fortunately,
you don't really see their feet in the shot so it didn't matter. I also
made a depression for their legs to go into which helped raise the machine
gun to more eye level, in keeping with the cartoon drawing.
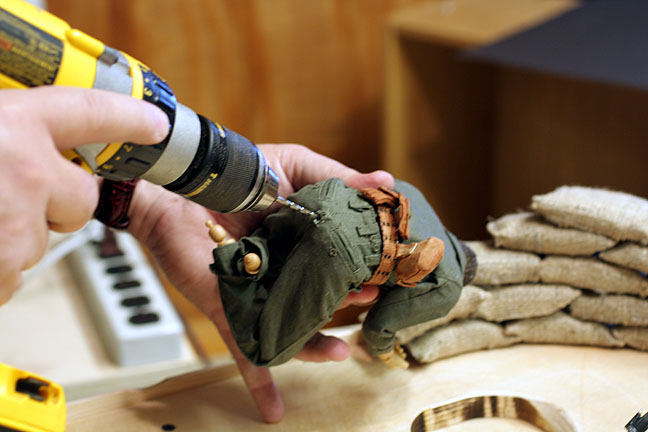
Don't
ask, don't tell, okay?
Look,
I needed a way to attach the soldiers firmly to the set and this seemed
like the most practical way to achieve that goal.
I don't
want to hear about it in emails. So just move on. There's nothing to see
here.
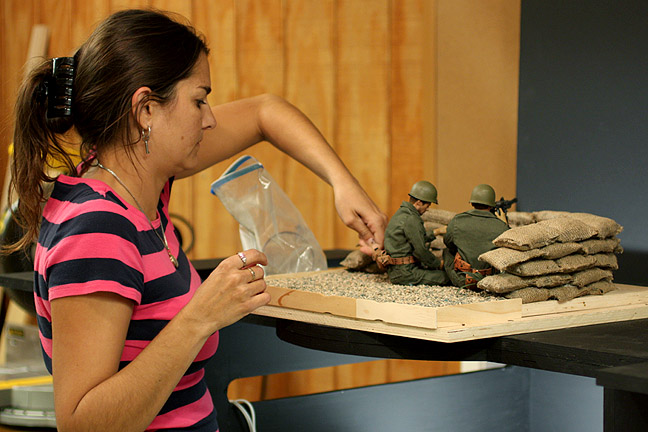
Here
Brandi is adding kitty litter to the set to simulate a rocky terrain. This
will be augmented with larger, real rocks as well.
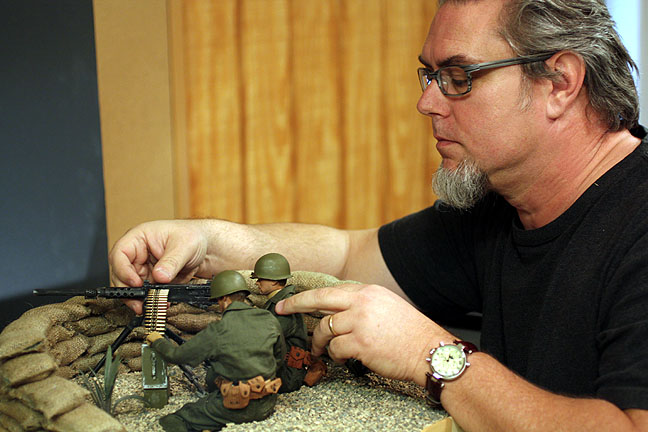
Yours
truly making some final adjustments to the machine gun and soldiers.
The
larger rocks have not yet been added.

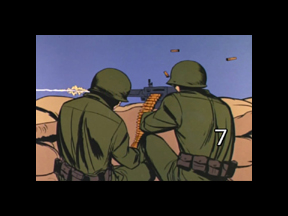
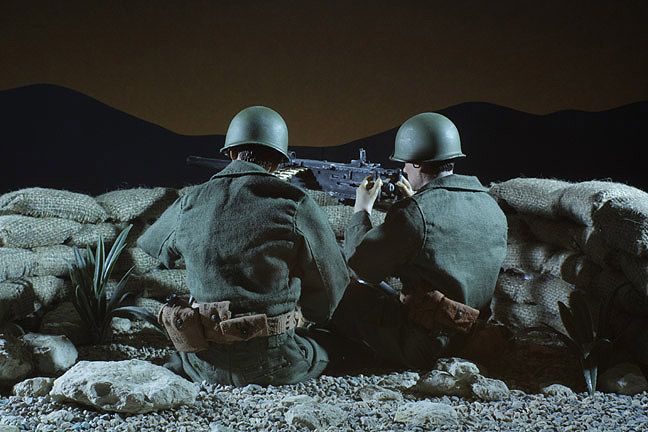
Two different
views of the set during a lighting test. This one was shot with a 50mm
lens. I like it but feel it is a bit too compressed and depth of field
is problematic as the lens only stops down to f16.
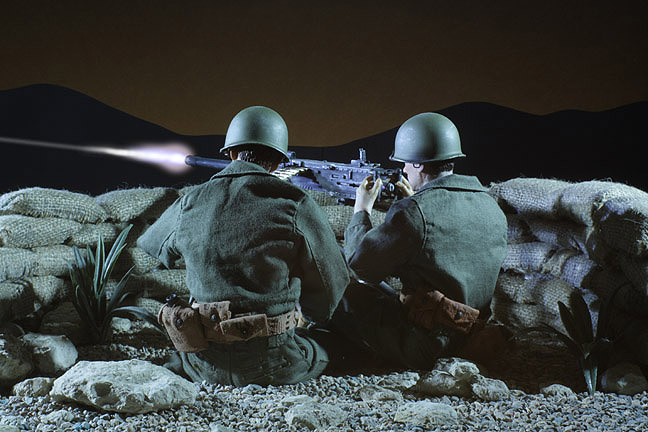
This
was shot with my favored 35mm lens, which gives a nice bit of depth and
stops down to f22. Still, I kind of like the softer mountains in the background
of the 50mm. Hmmm.....I'll have to think about it a bit. Anyway, decided
to add some gun fire to this in Photoshop, just to liven it up a bit. In
the actual animation, there will be interactive lighting on the set and
soldiers when the muzzle flash appears on each frame.
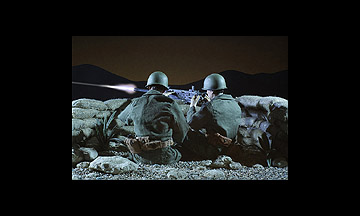
In the
mean time, did some final lighting tests. I added some orange gel to the
horizon light which not only added some warm color to the sky, but subdued
the horizon. I also simplifed the shape of the hills in the background
so as not to call attention to them. I found the previous horizon too distracting
in a Bugs Bunny/Road Runner kind of way. As mentioned before, this shot
will have a slight rotation to it, even though it only lasts 33 frames!
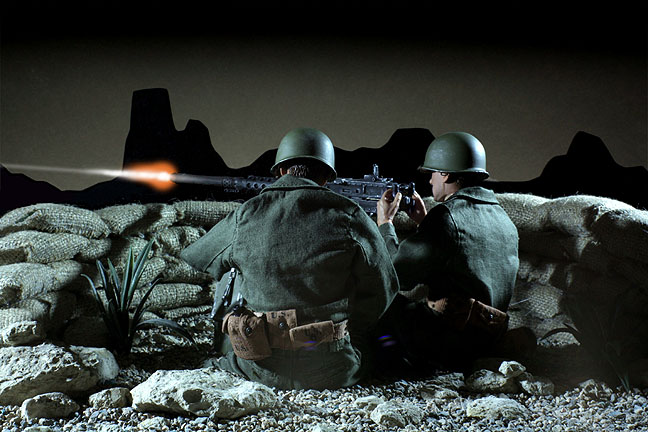
This
is the same position but with interactive lighting from an LED penlight
aimed at the gun and soldier. I dropped the reddish glow from the barrel
and decided to go with something that was more white hot, which ties in
with the lighting in their faces and on the sandbags.
Finally!
Spent the day animating the machine gun nest. Here's a shot of the set
up.
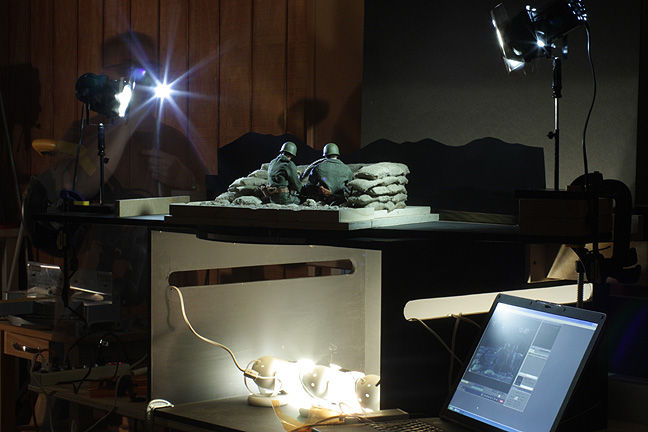
That's
me in the back, pointing a really bright LED penlight for each frame that
requires
a muzzle
flash. The penlight illuminates the faces and sandbags only on those frames.
In the
foreground, you can see my laptop which takes a feed from the video out
of the
digital still camera for reference.
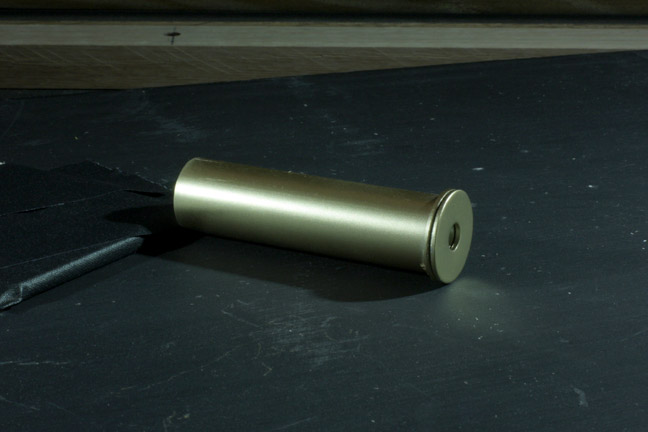
After
completion of the shot, I then needed to construct a single shell casing
to be
animated ejecting from the machine gun. I just grabbed a piece of PVC
and
then hot melt glued a couple of washers I had hanging around. A quick
coat
of gold spray paint and, voila! A 50 calibre shell !
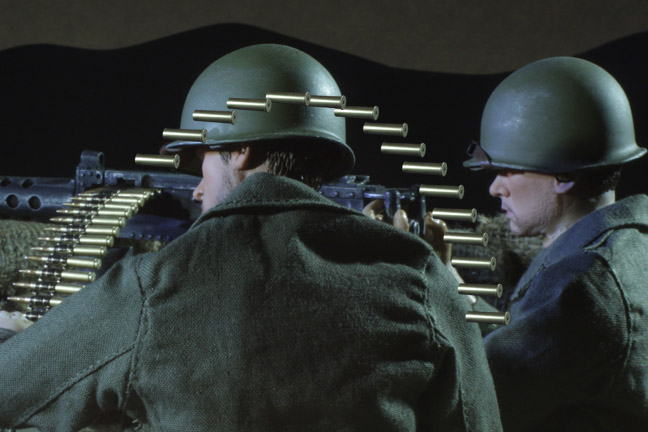
I then
took the photo of the shell casing into Photoshop where I matched
the
size and color of the original casings on the model. I then worked
out
the "flight path" of the ejecting casings and devised a simple
animation
cycle that repeated across three frames. Since the shot
was
only 33 frames long, I just pasted them into the scene, one frame
at a
time. I had to erase any areas where they passed behind
the
soldiers, of course.
Thanks
for looking!
HOME
All information, videos, photos and graphics in
this website are copyright 2009, Roger Evans. All rights reserved.
For those that enjoy the creak of leather, click
HERE
for my gallery of western art paintings