Click on a picture to see the original version or the new version.
For more information about
how this shot was created, see below!
Cut #6 contains many of the same builds and setups as cut #3. So some information is duplicated below.
Like cut #3, cut #6 presented
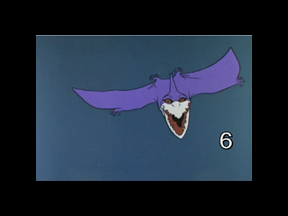
a number of problems. This is a fan favorite; "Turu the Terrible". However,
like so many of the characters in the JQ line up, Turu never quite looks
the same twice. In the opening titles, he is shown as two-toned purple
with a white beak. In the actual episode, he is black and pinkish with
a tan beak. And the shape of the beak, itself, changes sometimes within
one continuous shot. It ranges from very short and pointed to long and
roundish. I decided to go with a combination of looks, which would be black
and grey with a tan beak in the shape of a typical Hanna Barbara animal
character. Also - and this is probably the most distressing feature - Turu
has a really large pot belly and teensy, tiny feet which are clearly too
small to support such a grand waistline. Considering that the tubby
look is a mandatory part of the Turu Legend, I decided to increase the
thickness of his legs and widen his shoulder muscles a bit. Not that ANY
of this will increase his aerodymanics but this would hopefully make the
belly less of an issue. In short, I threw out any sense of a realistic
pteranodon and went totally cartoon, in terms of design.
But color wise, I just couldn't
bring myself to build a purple dinosaur.
Sorry, you JQ Purists. Too
"Barney" for my comfort zone.
To start, we need a dinosaur skeleton!
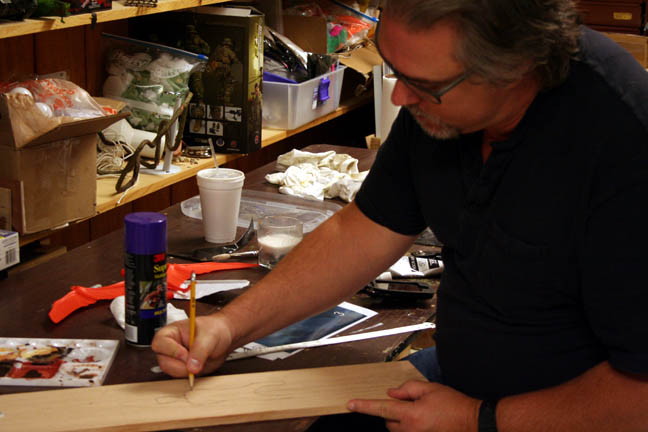
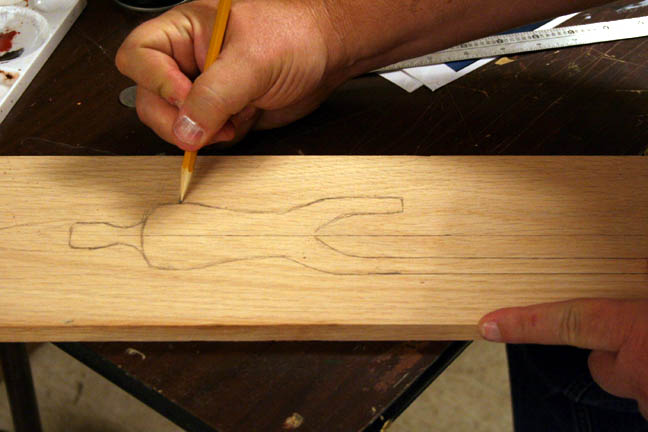
First I draw an outline of the torso on some hardwood.
A bit of sanding to take off the rough edges.
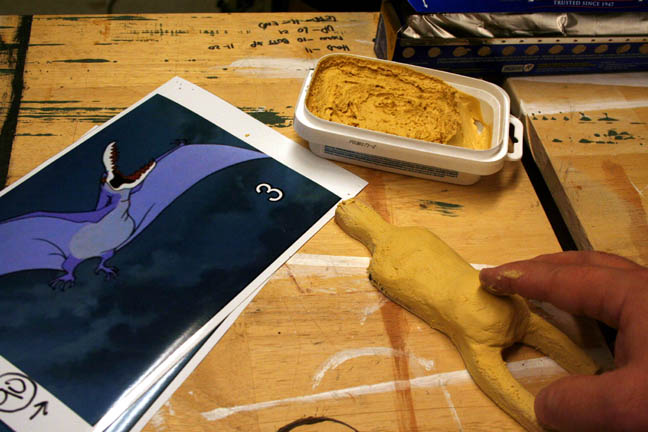
A careful application of putty
to add girth without adding too much weight.

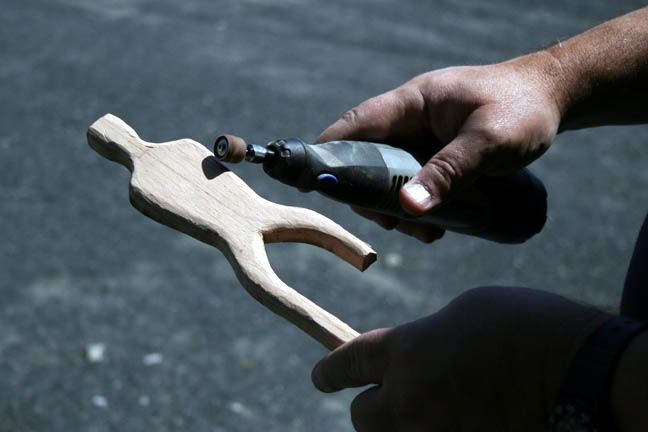
A wooden skull with a really,
really large, hinged mouth is frabricated from hardwood, as well.
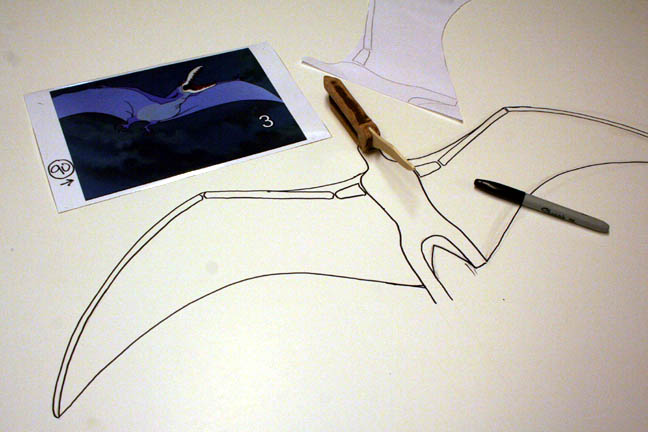
I then draw an outline of the
skeleton.
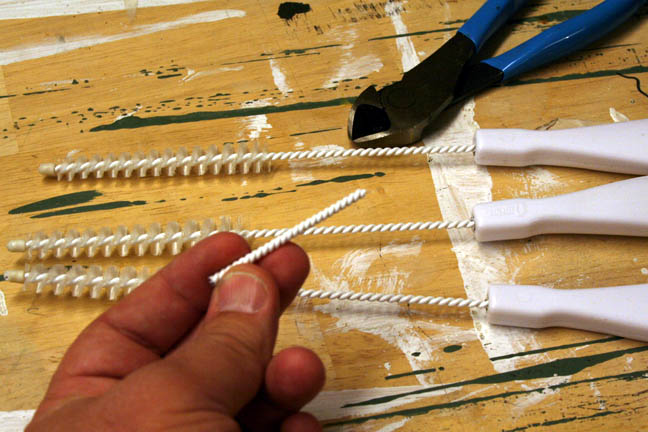
The joints of the skeleton
armature will require some very strong but flexible wire. After haunting
the local hardware store, I came across a sale on some cheap bottle brushes.
The twisted steel wire turned out to be ideal.
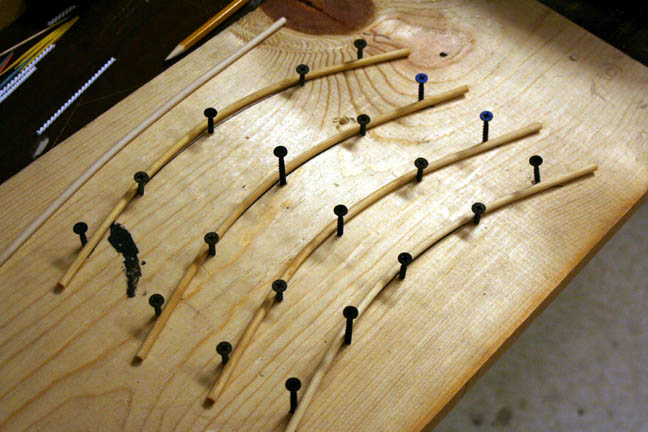
The outer "arms" required a gentle curvature. So I soaked wooden dowel in hot water and then bent them in a quicky jig. Once dry, they held their shape perfectly.
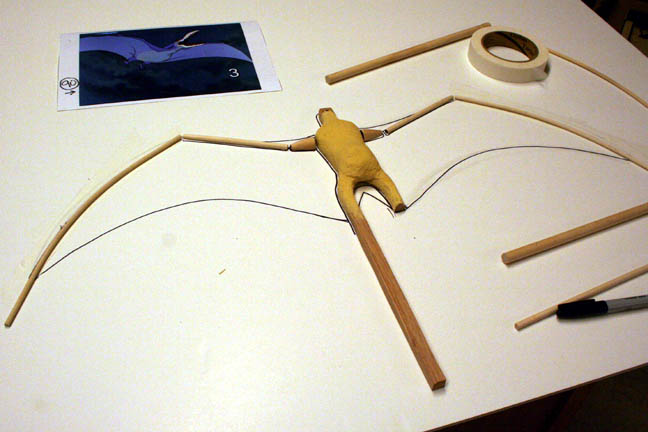
A quick test to make sure that
the armature fits the drawing!

The flight path was a simple
arc. So I constructed this pivoting model mount that could be marked off
very precisely in increments.
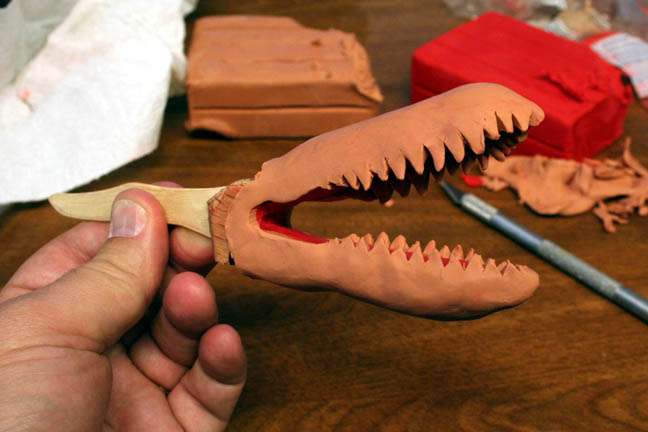
Looking very "Alien" at this
stage.
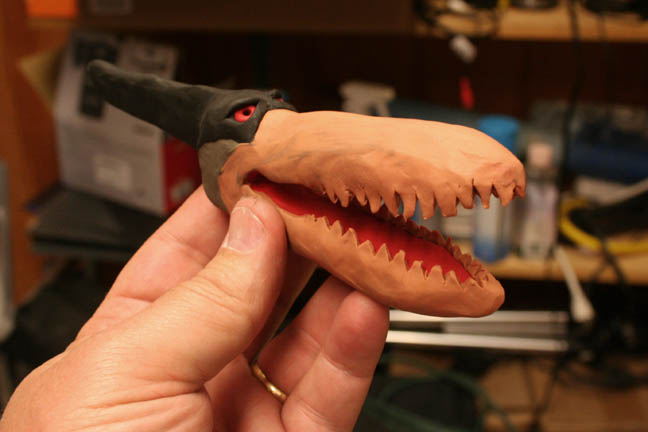
And here we have the classic
Hanna Barbara look. I found that sometimes Turu looked a lot like Dino
with wings.
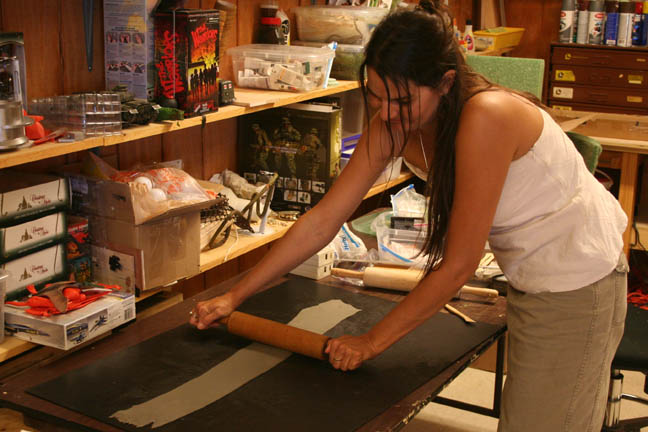
While I worked on the head,
Brandi was tasked with rolling out the clay for the wings. The total wingspan
was about 30 inches, so that required several bricks of clay. Making her
job more difficult was the need for the clay to be black on once side and
grey on the other. So two sheets were created and then rolled together
into one. This is much harder than it looks.
Which is why I let Brandi
do it. ;)
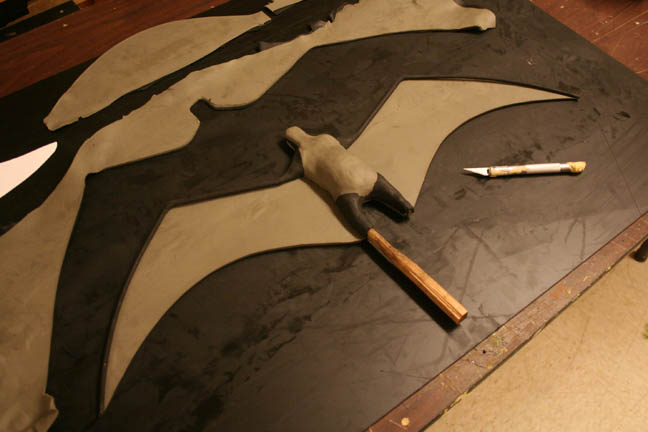
Once the clay was flattened,
the armature was carefully put in place and the wings cut out with an exacto
knife. The extra long leg is to attached to the rotating model mover.

Turu in front of the blue screen,
awaiting his close up.
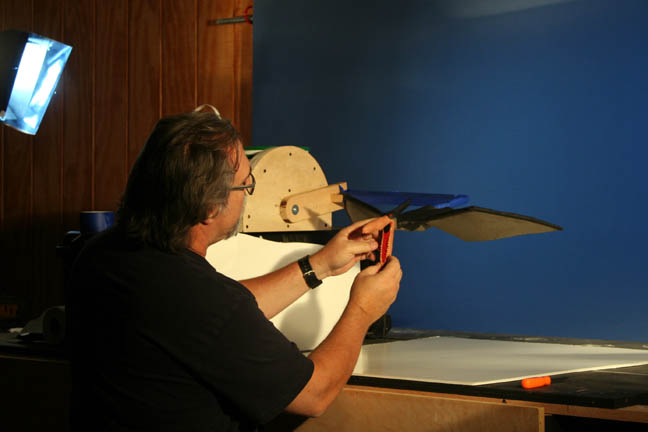
Me doing the honors.
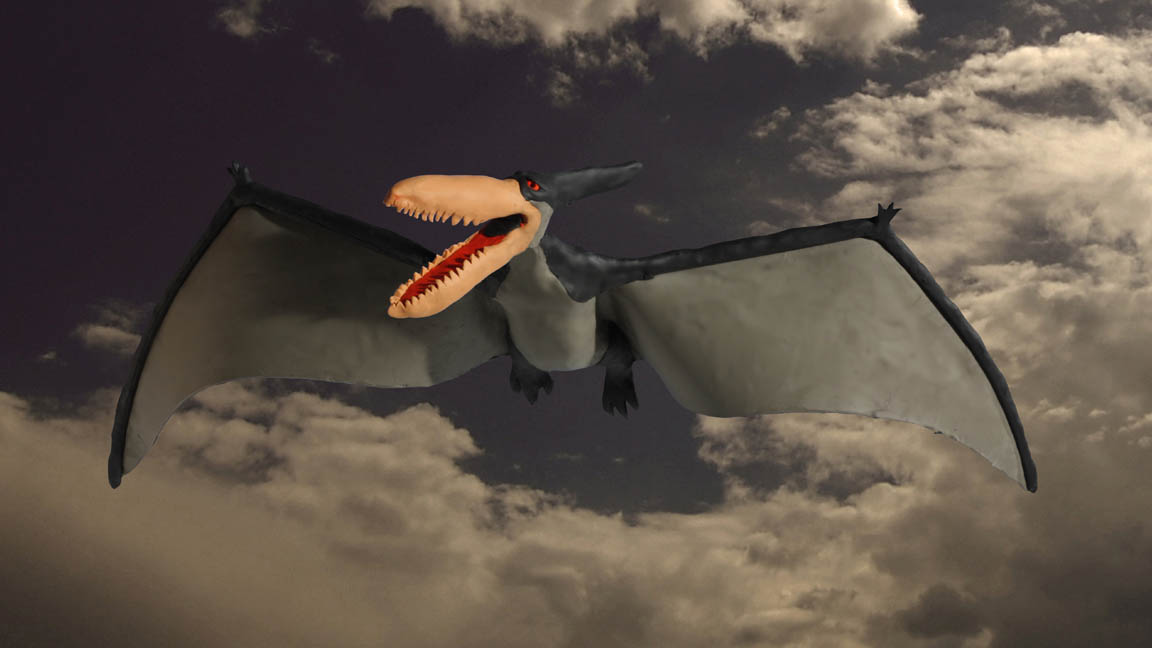
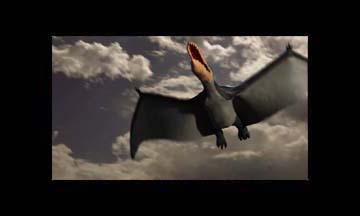
What the final comp looked like. The clouds are from a shot I took today. I just stepped outside, pointed the camera at the sky across from our house and, presto! Instant background. Click on the photo for a larger view!
The final clip is at the top
of the page!
Thanks
for looking!
All information, videos, photos and graphics in
this website are copyright 2009, Roger Evans. All rights reserved.
For those that enjoy the creak of leather, click
HERE
for my gallery of western art paintings